There’s a reason snowshoeing is a gateway winter sport in BC: it’s simple to learn, relatively affordable and it opens up a whole new season of trails – from coastal forests dusted in snow to wide-open subalpine meadows when conditions allow. Done right, it’s also one of the safest, most approachable ways to get outside in winter – especially if you start on low-angle, well-marked routes and build skills from there.
Below is a practical, BC-specific starter guide: what to buy (and what to skip), how to dress, where beginners can go and the safety habits that matter most in our mountains.
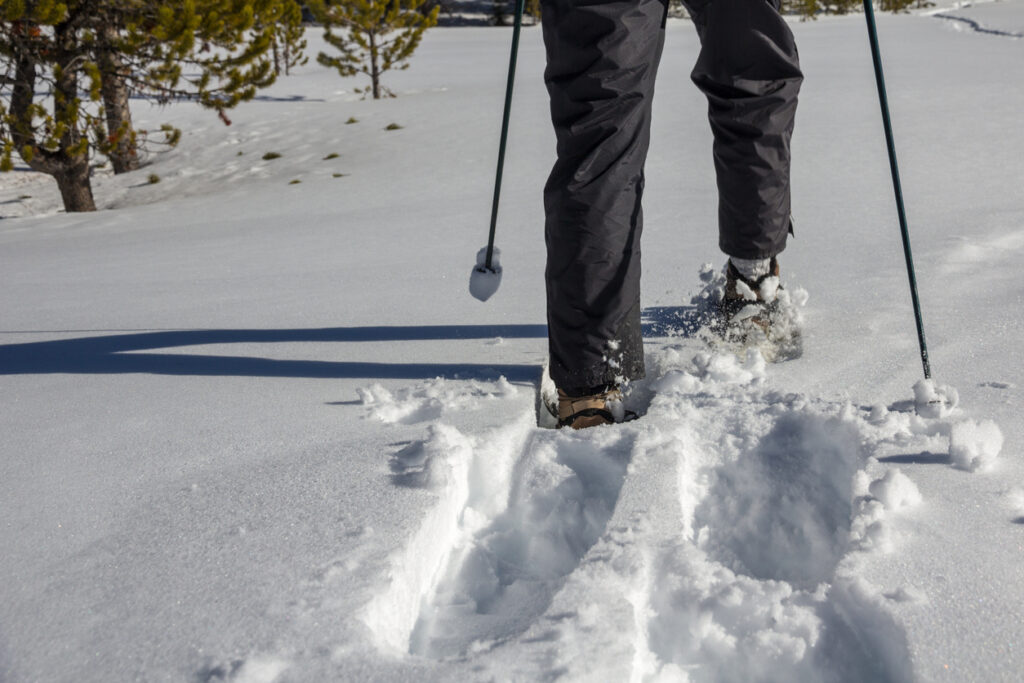 Photo by iStock
What Snowshoeing Actually Is (& Why It’s Different In BC)
Snowshoes spread your weight across a larger surface so you don’t sink as deeply into soft snow. Modern models also have traction rails and crampon-like teeth underfoot, which helps on firm or slightly icy surfaces.
In British Columbia, the “different” part is the terrain and conditions:
- Rapid weather changes (especially with elevation)
- Short winter daylight
- A real avalanche problem in many popular mountain areas
- Wet coastal snow near the ocean and lighter interior powder, depending on region
BC Parks’ winter guidance is blunt for a reason: winter has “significantly less room for error,” and extra trip planning is essential.
Step 1: Start With The Right Kind Of Trail (Beginner Success = Low Angle)
If you’re new, pick routes that are:
- Low elevation or forested
- Well-marked
- Popular (but not chaotic)
- Low angle (generally mellower slopes reduce avalanche exposure)
Your first few outings should feel almost too easy. That’s the point – dial your clothing, pacing, hydration and navigation habits before you add steeper terrain.
Pro tip for BC: When in doubt, choose maintained snowshoe networks (often at ski areas or Nordic centres.) They remove a lot of beginner guesswork.
Step 2: Gear You Need (& What You Can Rent)
The Basics
- Snowshoes matched to your weight with your pack (most are sold by load range)
- Poles with winter baskets (highly recommended for balance and knees)
Many people rent snowshoes the first few times to test sizing and style. For example, Mt Seymour notes you can snowshoe on their discovery trails (and even take rentals to some nearby trails.)
The “10 Essentials,” Winter Edition
A solid checklist includes navigation, light, first aid, extra insulation, food/water and repair items. MEC’s snowshoe checklist is a great reference for what should be in your daypack.
Parks Canada’s winter backcountry list is also a strong reminder that winter adds shelter/repair needs faster than people expect.
Step 3: Dress Properly (You’re Managing Sweat, Not Just Cold)
Most snowshoe misery comes from one mistake: overheating on the climb, then freezing on the breaks.
Use a simple layering system:
- Base layer: wicks sweat (synthetic or wool)
- Mid layer: warmth (fleece or light puffy)
- Shell: blocks wind/wet snow
- Spare warm layer: lives in your pack for stops
Keep an eye on cold stress risk: severe cold stress can lead to hypothermia, and it can become serious quickly in wet, windy conditions.
BC Parks also explicitly warns to watch for hypothermia and to monitor changing winter conditions.
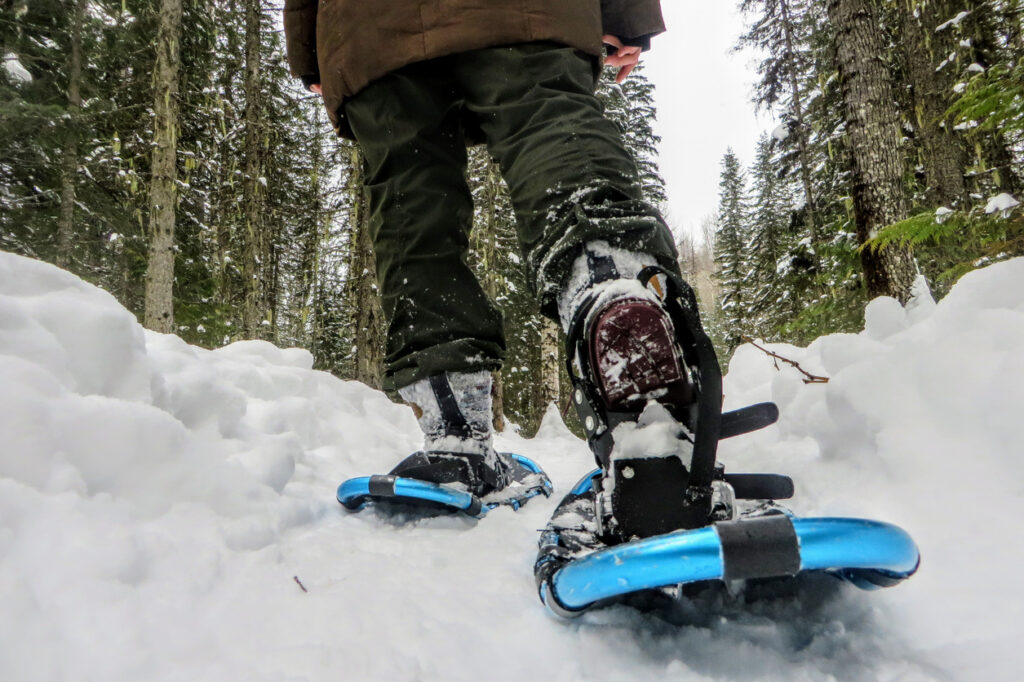 Photo by iStock
Step 4: Learn The #1 Winter Skill In BC – Trip Planning
Before you leave home:
- Check weather (including at elevation)
- Check daylight (plan to be back well before dark)
- Check access and roads
- Tell someone your plan
For road access, DriveBC is the go-to for real-time conditions, closures and webcams.
And don’t underestimate winter driving requirements – BC notes how quickly conditions change on highways and mountain passes.
Step 5: Avalanche Awareness – What Snowshoers Need To Know (Even On “Hikes”)
This is the part many beginners don’t expect: snowshoeing can put you in avalanche terrain just as easily as skiing does, especially around the South Coast mountains and popular alpine routes.
BC Parks advises that if you’re going into areas where avalanches are possible, you should bring a transceiver, probe and shovel – and know how to use them.
Avalanche Canada reinforces that these are the essential pieces of rescue equipment for every person in a backcountry party.
If you plan to snowshoe beyond groomed networks, an Avalanche Skills Training Level 1 (AST 1) course is the standard starting point. Avalanche Canada notes AST 1 covers recognizing avalanche terrain, understanding the forecast, trip planning and companion rescue.
Where To Go First In BC (Beginner-Friendly Ideas)
Here are places that are popular because they reduce uncertainty: marked trails, clear difficulty options and easier logistics.
Managed Snowshoe Trail Networks
- Whistler Olympic Park (Callaghan Valley): advertises 15+ km of well-marked wilderness snowshoe trails (including a dog-friendly network).
- Mt Seymour (North Shore): has dedicated snowshoe trail options within the resort area.
Heads-up for busy parks: Some high-demand areas use day-use passes at certain times (for example, the BC Parks day-pass system includes Mt Seymour details.)
Provincial Park Options (Great Once You’re Comfortable Navigating)
BC Parks highlights that winter activities – including snowshoeing – are available across regions of the province.
If you’re heading to places like Manning Park, pay attention to local winter notes. A Manning Park snowshoe map warns that Lightning Lake ice does not freeze reliably and travel on the lake itself isn’t recommended.
(Whatever area you choose, look up current trail/parking info right before you go – winter operations and access can change quickly.)
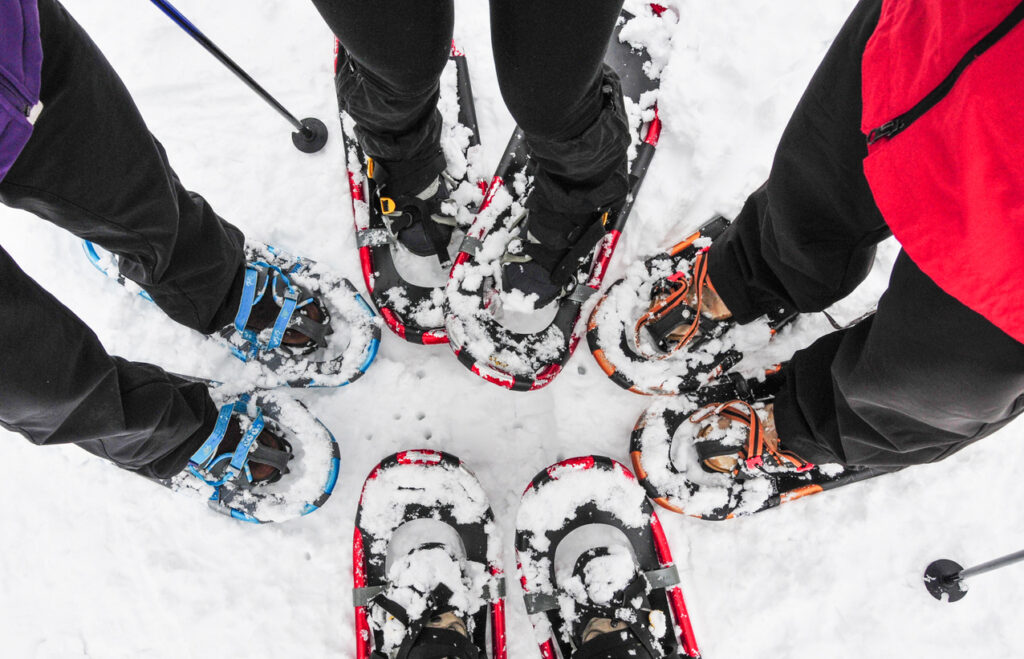 Photo by iStock
Trail Etiquette & Winter “Leave No Trace” Basics
Snowshoeing is usually quiet and low-impact, but winter has a few key etiquette points:
- If you’re on groomed Nordic trails: don’t stomp in the ski tracks; stay to the side (many areas explicitly ask this)
- Yield smartly: uphill travellers often have the right of way, but use common sense and communicate
- Respect wildlife space: winter is high-stress time for animals; avoid chasing or crowding
Leave No Trace has winter-specific guidance to help people minimize impacts when recreating on snow.
A Simple 3-Outing Progression Plan
Outing 1 (60-90 minutes): groomed/marked network, easy loop, practice pacing and layers
Outing 2 (2-3 hours): slightly longer route, practice navigation basics (map/app and battery management)
Outing 3 (half day): add gentle elevation only if conditions and terrain are appropriate – and start learning avalanche terrain avoidance if you’ll ever leave managed networks